FREE Patchwork Tote Bag Pattern
Patchwork Tote Bag featuring the Wild Folk collection by Bethan Janine.
At Dashwood Studio, we’re always thrilled to bring creative projects to life using our beautiful fabric collections. Today, we’re excited to share a special project that’s perfect for adding some handmade charm to your accessories: a patchwork tote bag using our Wild Folk collection by Bethan Janine. This easy and fun DIY project will have you carrying your essentials in style while showcasing the whimsical beauty of the fabric.
Bethan’s latest Wild Folk collection captures the enchanting spirit of woodland folk and fauna, with intricate designs in a warm, rich palette of purples, russet, and pinks. These gorgeous prints are perfect for creating a patchwork tote that’s both functional and full of magical charm.
Whether you're a seasoned sewist or a beginner, this patchwork tote bag is a simple project to make and can be customized to suit your personal style. So grab your fabric and let your creativity run wild with this versatile and beautiful bag!
Supplies:
80 3” fabric squares (5-6 different prints) for bag and straps
(2) 5” x 6” fabric pieces for pockets
½ yard fabric for lining
½ yard batting or interfacing
Scissors
Pins or clips
Matching thread
Step-by-Step Guide:
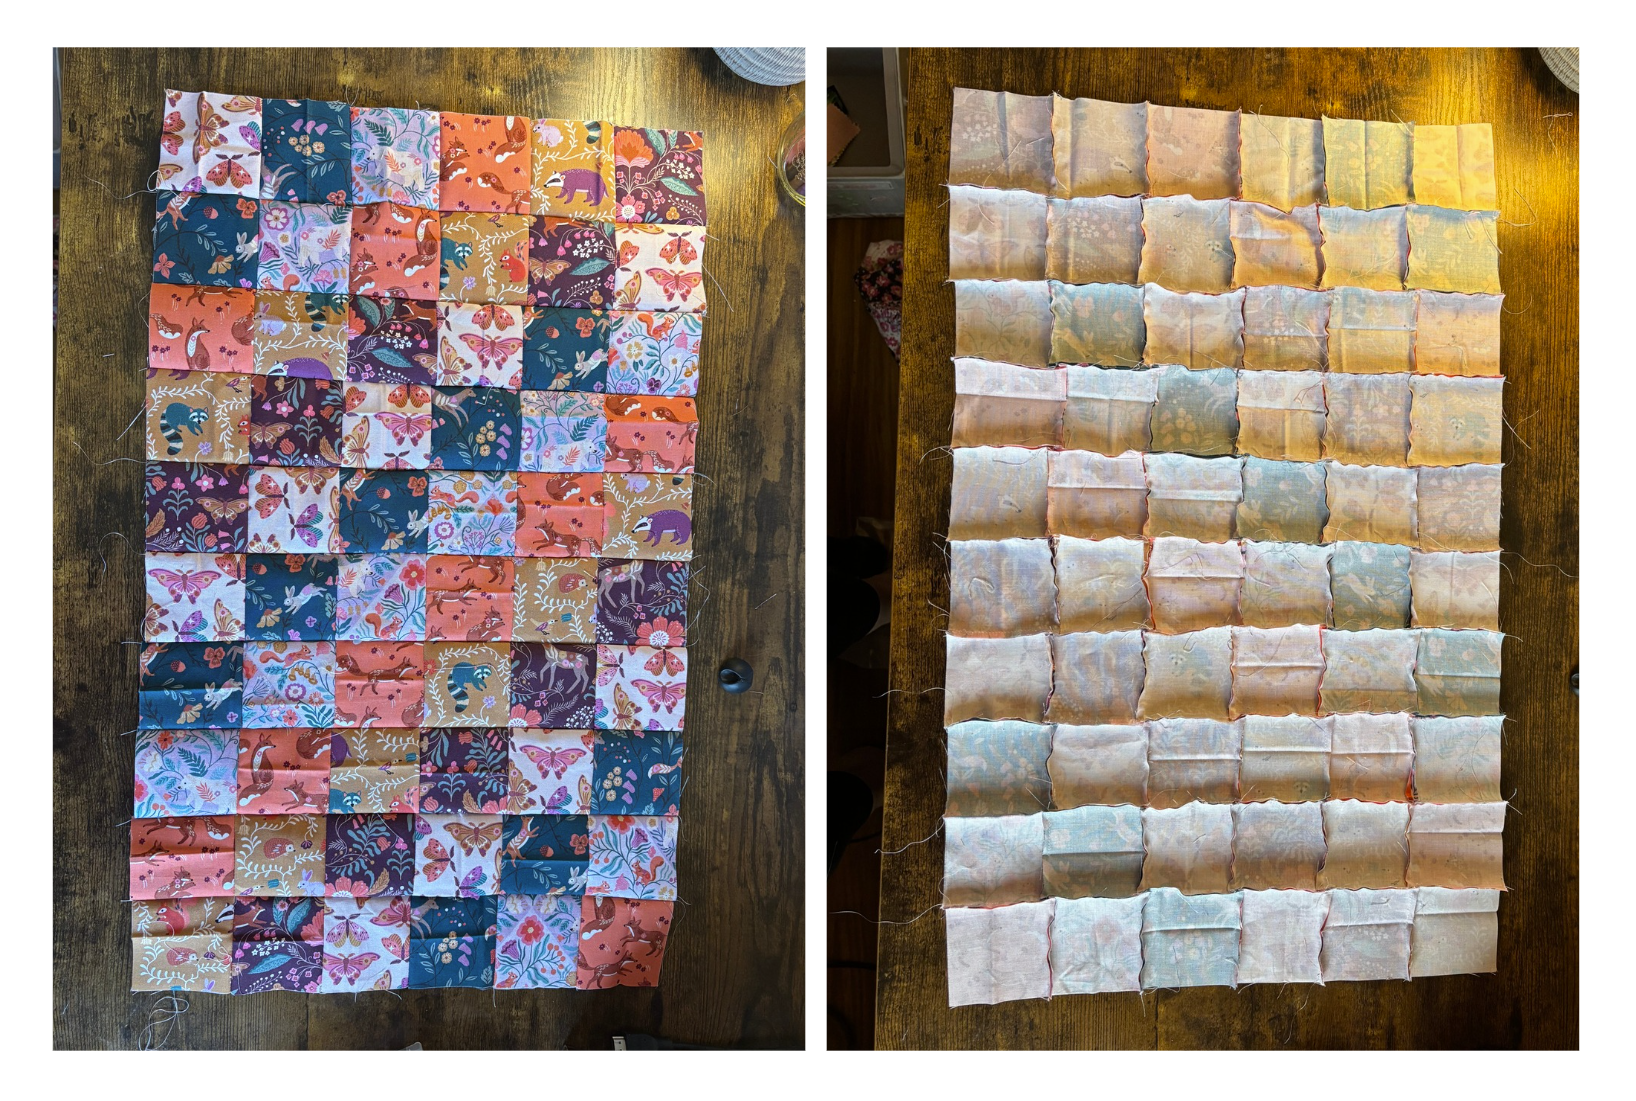
Step 1: Lay out squares in 6 rows of 10 squares for bag and 2 rows of 10 squares for straps.
Step 2: For the bag, with right sides together, stitch squares together to make rows. Sew rows together to make (1) 6x10 rectangle piece. Press seams flat.
Step 3: For straps, sew together 10 squares in a single row. Repeat for second strap. Press seams open. Fold ½” from each side to center, press. Fold in half and press to create a 1” strap. Pin together and sew close to edge. Top stitch close to opposite edge also.
Step 4: Measure pieced rectangle and add 2 inches on each side. Cut batting or interfacing to this size. Pin together and quilt to your desired design. Trim excess batting/interfacing once complete.
Step 5: Cut quilted rectangle in half down the center to create (2) – 6 squares x 5 squares pieces.
Step 6: Cut (2) pieces of lining fabric to match the size of your quilted pieces.
Step 7: Sew pocket. Place both 5” x 6” fabric pieces right sides together and sew along all 4 sides leaving a 2” gap on 1 short edge (this will be the top of your pocket). Cut corners and turn right sides outward through the 2” gap. Top stitch along the top of the pocket to close gap.
Step 8: With lining right side up, pin your pocket in the center of the lining piece. Sew along 3 edges of pocket to attach to lining, back stitch at beginning and end.
Step 9: Place both lining pieces on top of each other, right sides together. Pin along 3 sides leaving the top of your bag open. Cut a 1 ½” square out of both bottom corners of your lining.
Step 10: Place both quilted pieces together on top of each other, right sides together. Pin along 3 sides leaving the top of your bag open. Cut a 1 ½” square out of both bottom corners of your lining
Step 11: Sew along 3 sides of your lining piece leaving a 5” gap on the bottom edge. Open corners of bag and line up the side seam to the corner of the open square. Sew along the edge to create a flat bottom. Repeat on second corner. Leave wrong sides outward.
Step 12: Sew along 3 sides of your lining piece. Open corners of bag and line up the side seam to the corner of the open square. Sew along the edge to create a flat bottom. Repeat on second corner. Turn right sides outward. This will be the outside of your bag.
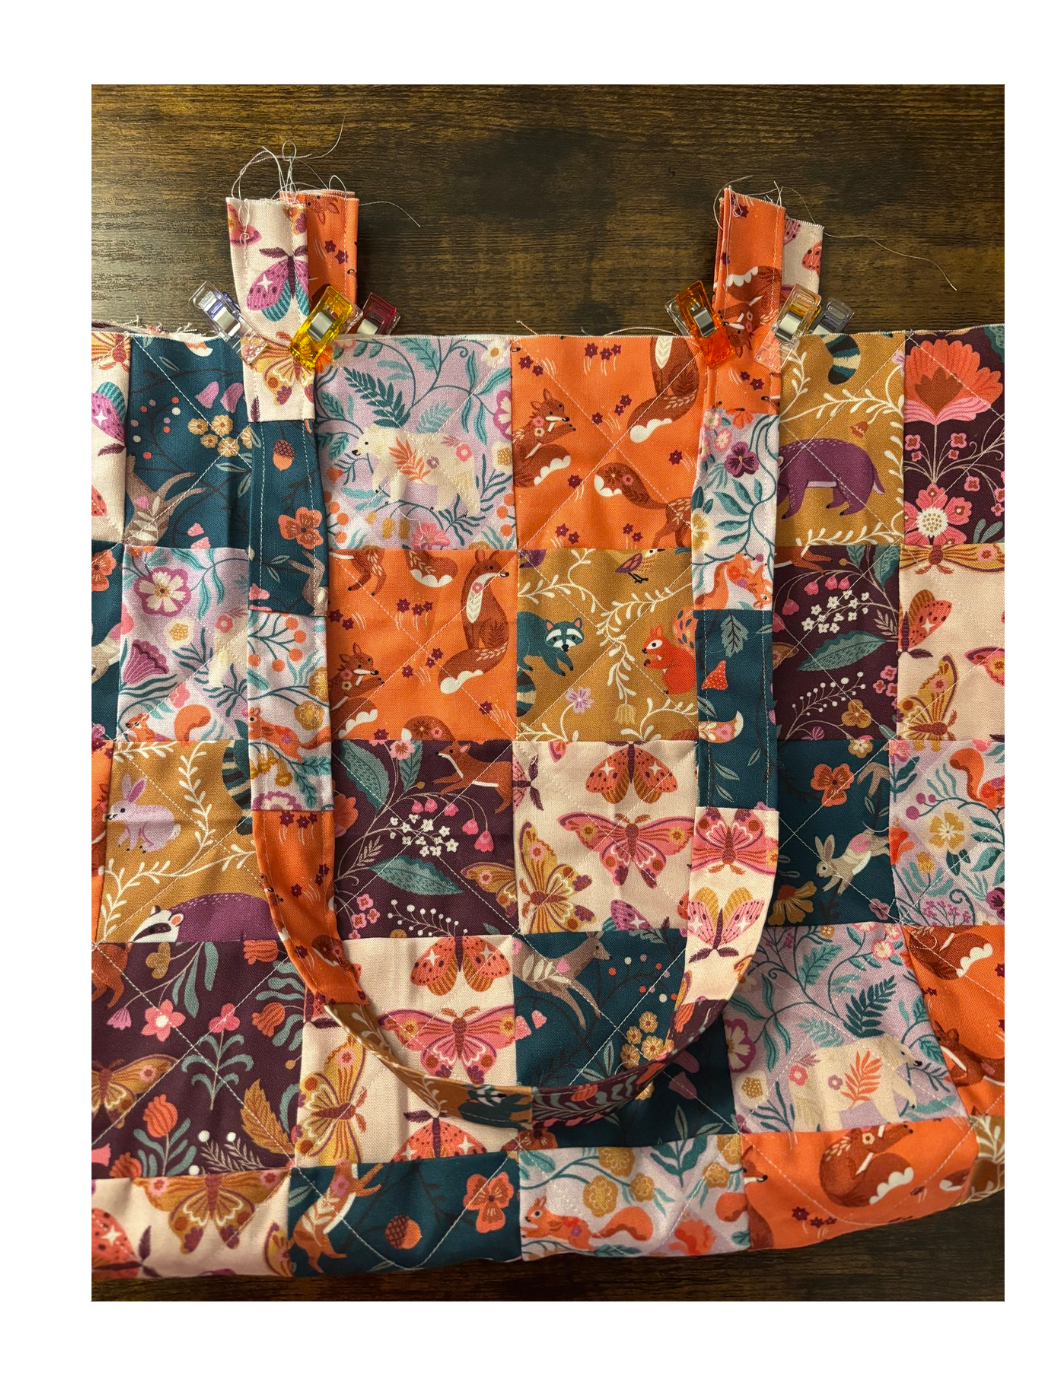
Step 13: Pin straps to both sides of your bag leaving a 1 ½” overhang.
Step 14: Place the lining over the outside of your quilted bag, tucking the straps into the lining. Clip both the lining and quilted bag together along the top edge. Be sure to match up the side seams on both pieces. Sew along the top being sure to back stitch a few times over the straps to ensure durability. Trim excess overhang on straps.
Step 15: Through the 5in gap in the bottom of the lining, pull the quilted bag through to bring right sides outward on both the quilted bag and lining. Sew along the edge of the lining to close the gap.
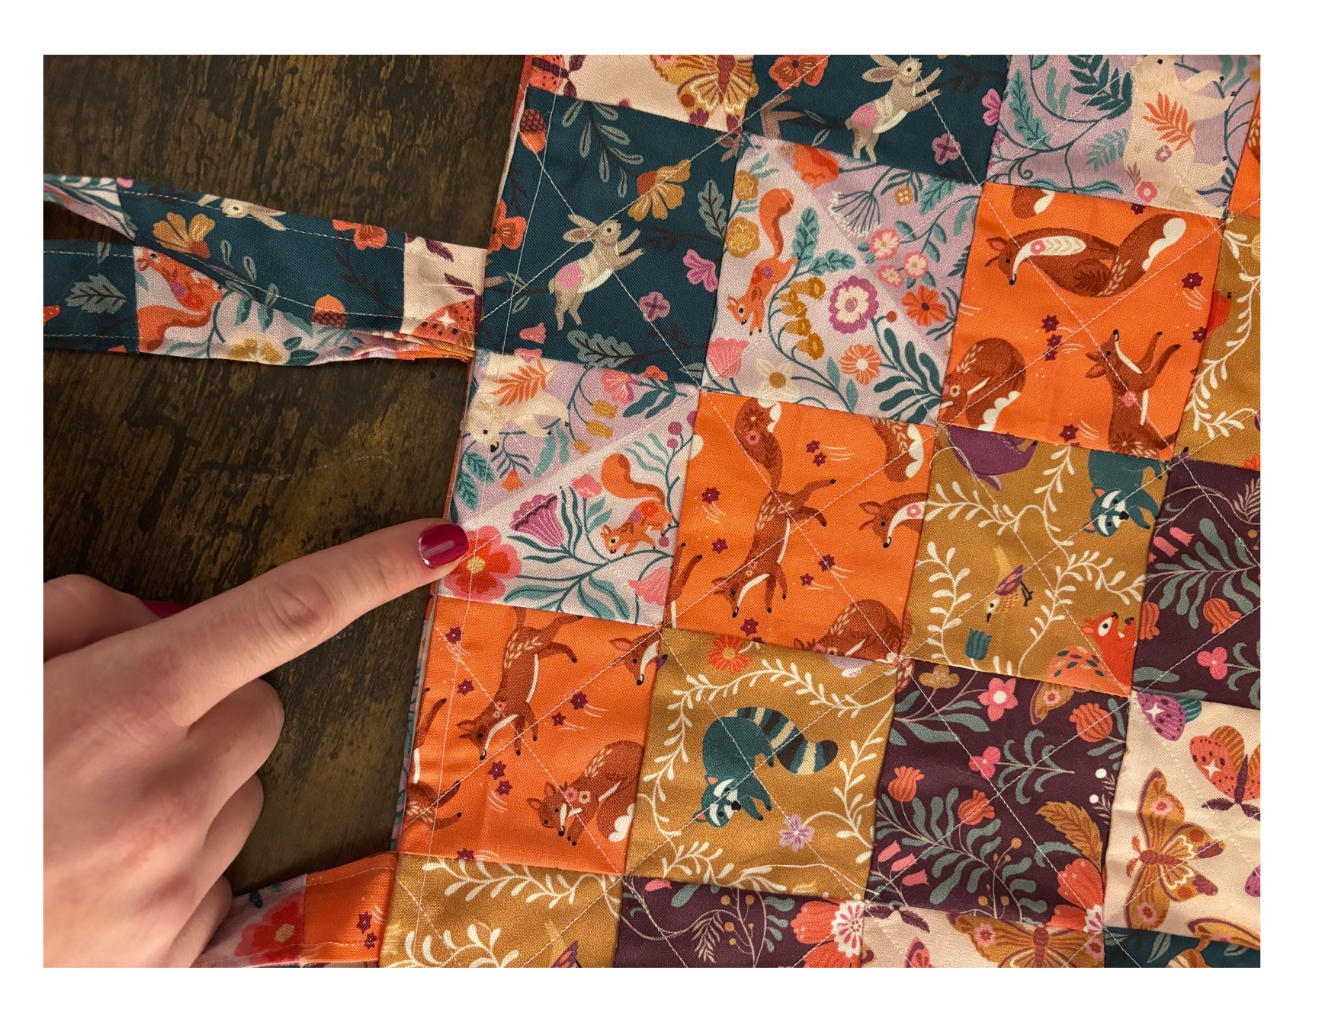
Step 16: Tuck the lining inside of bag and press the inside edge to ensure it lays flat. Top stitch along the top edge of the bag making sure to move the straps out of the way. Your bag is now complete!
Check out @DashwoodStudioUSA on Instagram to stay up to date with the newest collections and free projects!
Want to make your own Dashwood project? Visit your local quilt shop that carries Dashwood Studio Fabric, or ask your favorite shop to order Dashwood fabric from Brewer Sewing & Quilting today!
We can’t wait to see your creations, so be sure to share your finished projects with us on social media by tagging @DashwoodStudioUSA!


